October 16, 2019
Finger Wave Demo with MUD LA Instructor Ronda Althen
Our Beauty 201 course concentrates on the basic fundamentals of hairstyling, from simple blow-drying techniques to creating elaborate period-inspired hairstyles like the finger wave design. Students will learn to create modern styles, as well as edgy and creative hair designs using hot tools and roller sets.
The finger wave style is the art of directing the hair into alternate parallel waves. These waves are designed around the head creating an “S” shape throughout the hair. Popular in the 1920’s, this style is also used quite a bit now in many different mediums within our industry.
Watch and read on as MUD LA Instructor Ronda Althen breaks down the art of the finger wave technique.
Preparation:
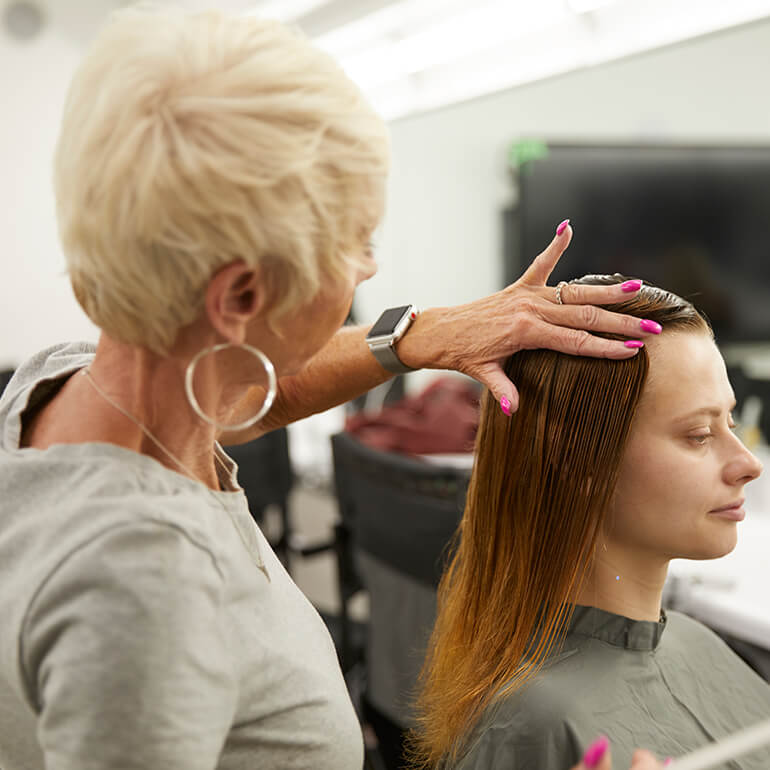
- Part towel-dried hair down to the scalp, comb smooth, and arrange it to conform to the planned style.
- The fingerwave can be started on either side of the head. In the above video, the hair is parted on the left side of the head and wave is started on the right (heavy) side of the head.
Shaping the Top Area:
- Using the index finger of your left hand as a guide, shape the top hair with the comb using a circular movement. Starting at the hairline and work toward the crown in 1.5” to 2” sections at a time.
Forming the Ridge:
- Place index finger of the left hand directly above the position for the first ridge.
- With the teeth of the comb pointing slightly upward, insert the comb directly under the index finger. Draw the comb forward about 1” along the fingertip.
- With the teeth still inserted in the ridge, flatten the comb against the head to hold the ridge in place.
- Remove the left hand from the head and place middle finger above the ridge and the index finger on the teeth of the comb.
- Emphasize the ridge by closing the two fingers and applying pressure to the head.
- Without removing the comb, turn the teeth downward and comb in a right semicircular direction to form a dip in the hollow part of the wave.
- Follow this procedure section by section until the crown has been reached.
Forming Second Ridge:
- Begin at the crown area. The movements are the reverse of those followed when forming the first ridge.
- The comb is drawn from the tip of the index finger toward the base of the index finger, thus directing the formation of the second ridge.
- All moments are followed in a reverse pattern until the hairline is reached, completing the second ridge.
- Continue alternating directions until the side of the head has been completed.